
Follow Me On Social Media!
Easy DIY Wood Shelf Bracket Corbels
Easy DIY Wood Shelf Bracket Corbels: A Charming Home Decor Upgrade
When it comes to home decor, there’s something profoundly satisfying about creating your own functional art pieces. Imagine walking into your living space and seeing beautifully crafted wood shelf bracket corbels that not only support your shelves but also add a touch of rustic charm to your home. These DIY projects not only save money but also let your personality shine through your decor. If you’re eager to handcraft a stunning accent for your home, keep reading to explore how easy and inspiring this quick DIY project can be. 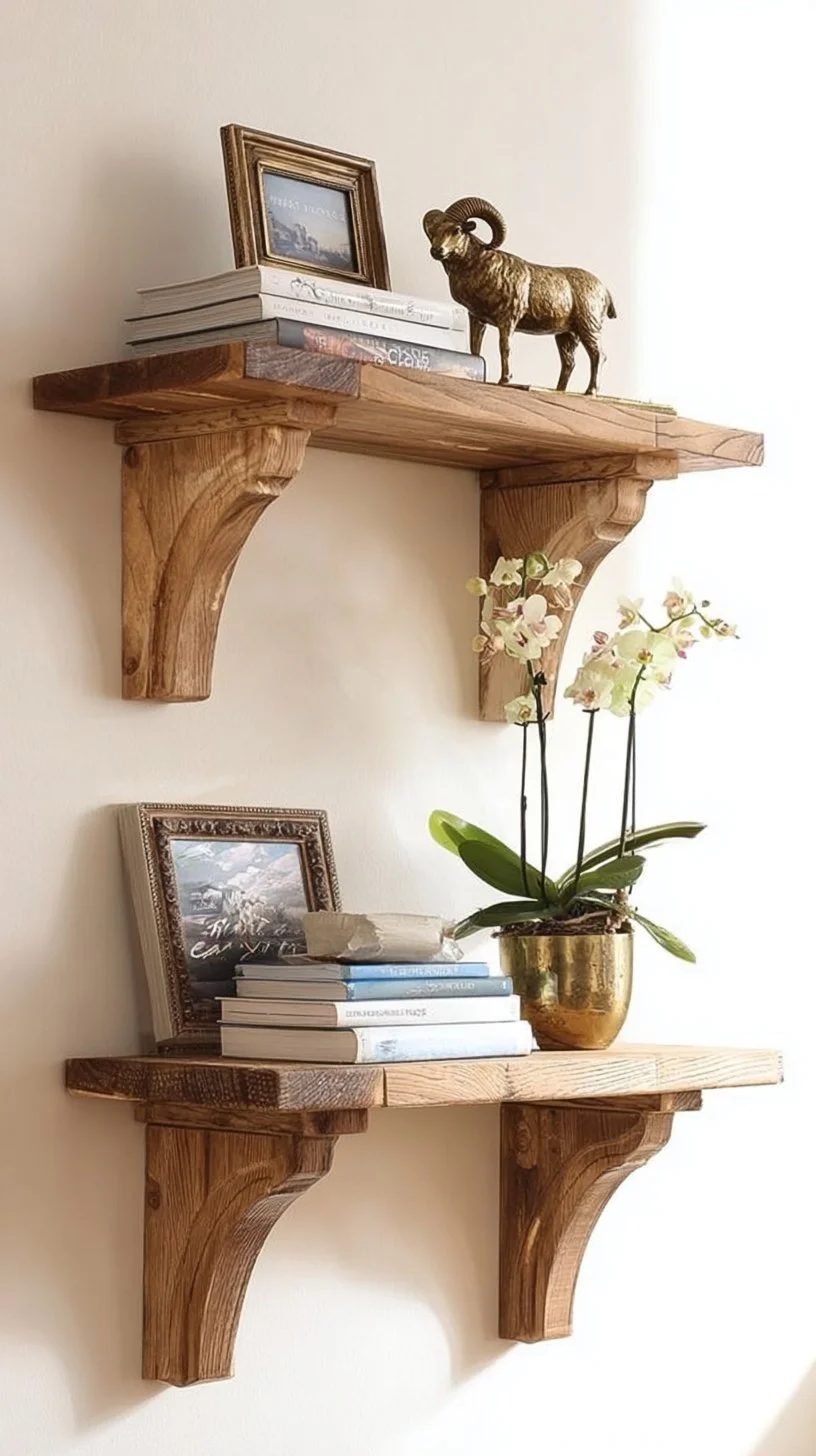
Why Choose DIY Wood Shelf Bracket Corbels
Wood corbels are more than just practical supports; they have a unique way of enhancing the aesthetic appeal of any room. Whether you prefer a modern, minimalistic look or a cozy, farmhouse style, these corbels can adapt to your design preferences. Plus, they offer a perfect opportunity to express your creativity!
Benefits of DIY Wood Shelf Corbels
- Personalization: Customize the shape and finish to match your decor.
- Cost-Effective: Save money while achieving a high-end look.
- Sustainability: Utilize reclaimed wood or eco-friendly materials.
- Skill Development: Learn woodworking skills that you can apply in future projects.
Materials You Will Need
To kickstart your DIY journey, gather the following materials:
- Wooden boards (pine, oak, or reclaimed wood work well)
- Saw (hand saw or miter saw)
- Drill and screws
- Wood glue
- Sandpaper (medium and fine grit)
- Wood stain or paint (optional)
- Measuring tape
- Level
- Clamps
Quick Tip:
Always choose wood that fits your decor style. For a rustic farmhouse look, opt for reclaimed barn wood. For a modern aesthetic, select smooth, fresh-cut wood with clean lines.
Step-by-Step Instructions to Create Your Corbels
Now that you have your materials ready, it’s time to get hands-on! Follow these simple steps to create your stunning wood shelf bracket corbels:
1. Measure and Cut
- Decide on the Size: Determine how large you want your corbels to be based on the size of the shelves and the wall space.
- Cut the Wood: Cut two identical pieces for each corbel using your saw. A common size is 6×6 inches for the base, but you can adjust to fit your vision.
2. Shape the Corbels
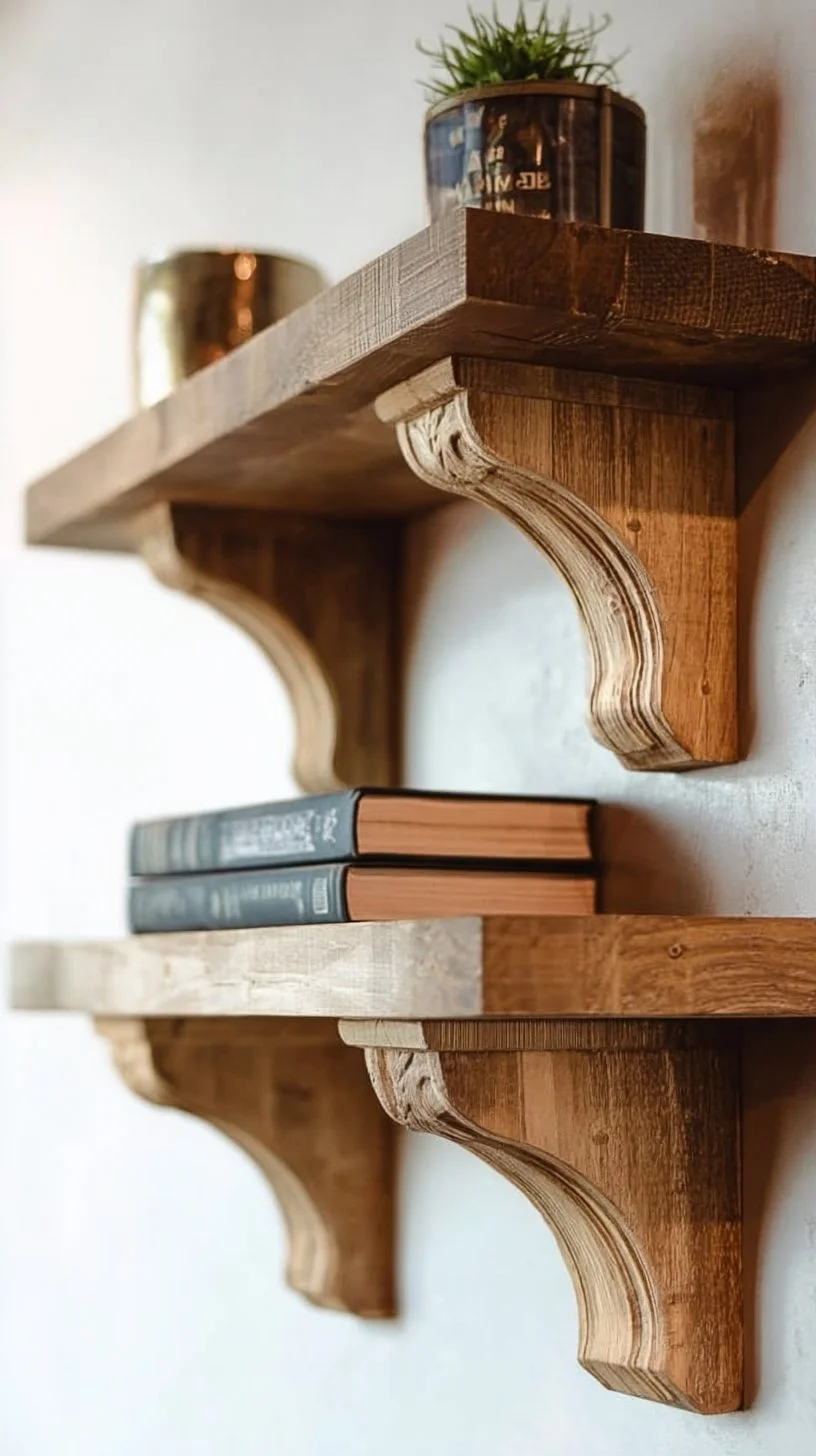
- Design Your Shape: Use a pencil to sketch the design on the top part of the wood before cutting. Popular designs include curved, scrolling, or angled edges.
- Make the Cuts: Carefully cut along your lines. Ensure the edges are smooth, as this will affect the overall finish.
3. Sanding and Finishing
- Sanding: Use medium-grit sandpaper to smooth the edges and corners, and finish with fine-grit sandpaper for a polished look.
- Staining or Painting: Choose a wood stain that complements your home or a paint color that matches your decor. A natural wood finish adds warmth, while a sleek white paint is perfect for a modern vibe.
4. Installation
- Placement: Find the desired location for your shelf and mark the placement of the corbels.
- Attach to Wall: Use a drill to secure the corbels to the wall with screws. Make sure they are level!
- Add the Shelf: Once the corbels are secure, place your shelf on top and ensure it is stable.
Creative Ideas for Using Wood Corbels
- Kitchen Shelving: Use corbels to support open kitchen shelves, displaying beautiful dishware or cookbooks.
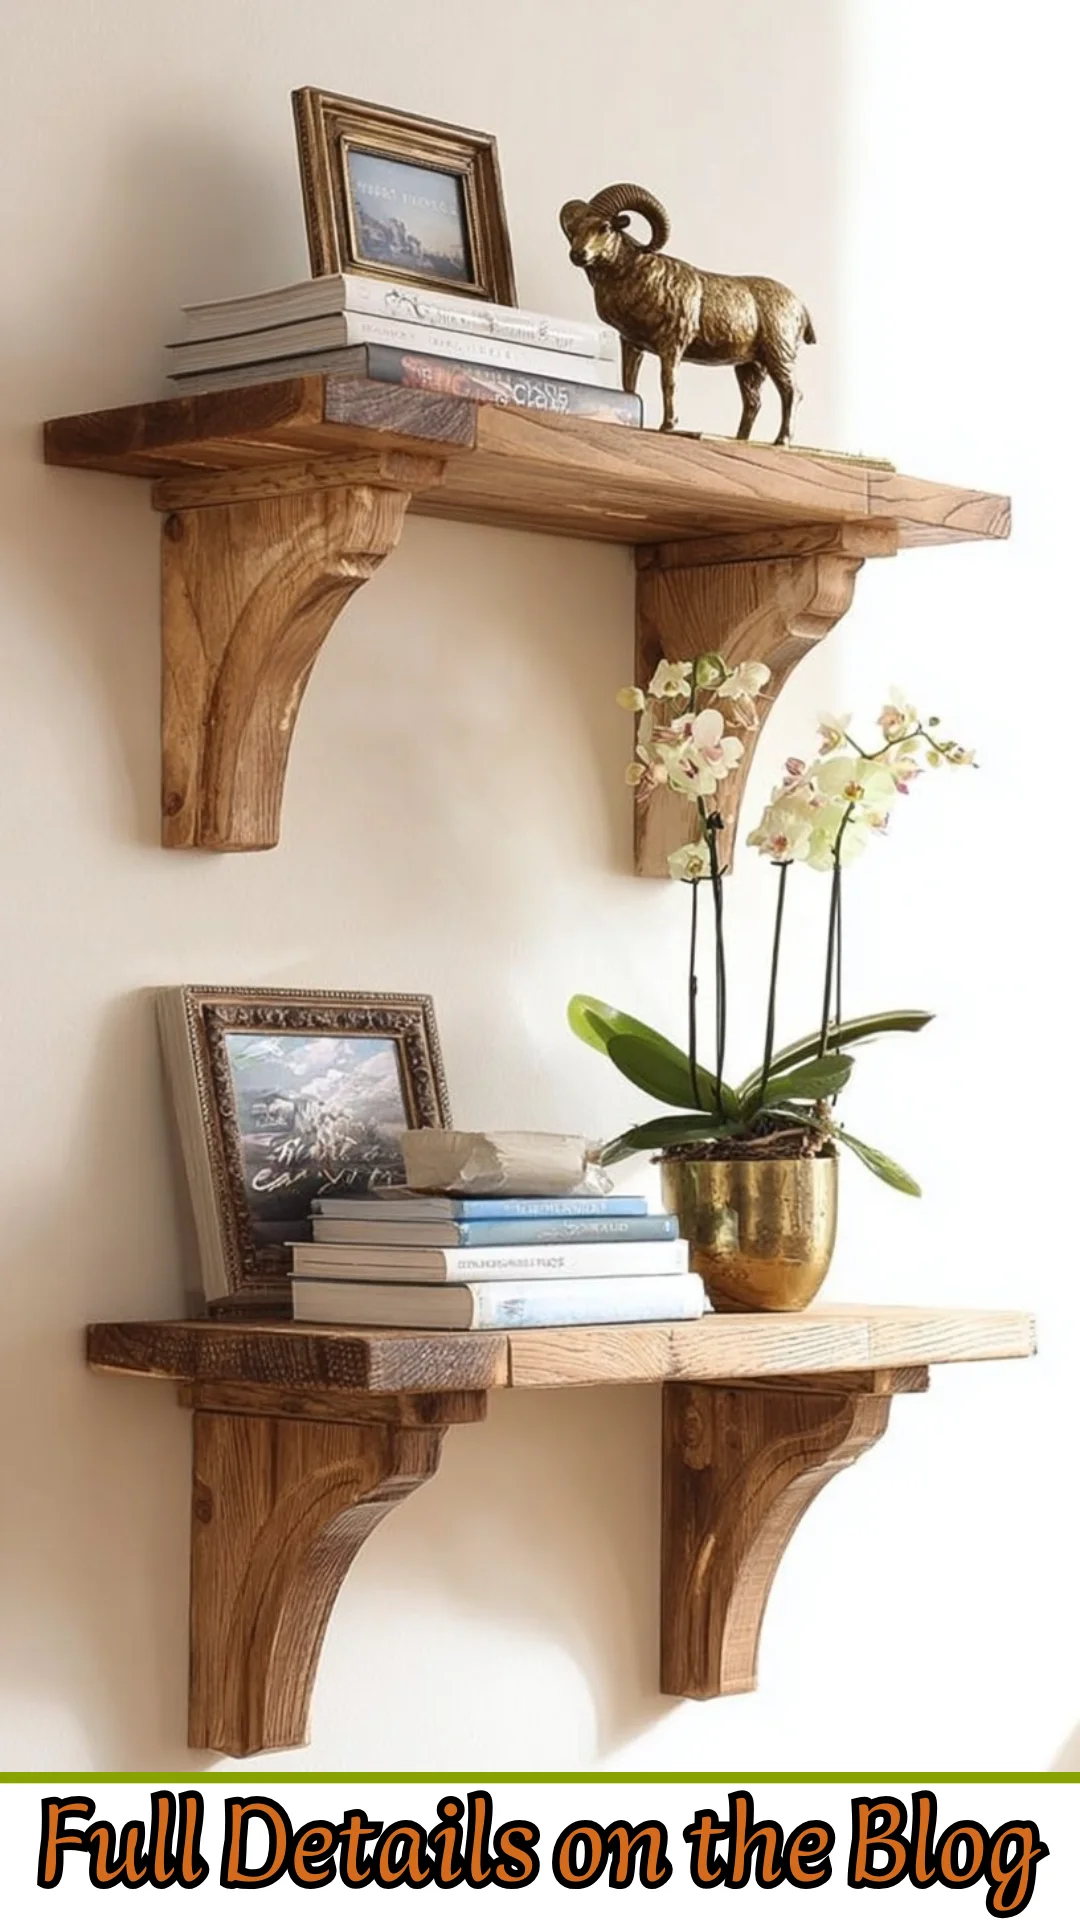
- Living Room Displays: Install corbels along a wall to create floating shelves for plants, art pieces, or framed photos.
- Entryway Hooks: Use smaller corbels to mount hooks for coats and bags while maintaining a stylish entrance.
- Bathroom Decor: Place corbels in your bathroom to hold towels or toiletries, adding both personality and function.
Conclusion
Crafting your own DIY wood shelf bracket corbels is not only an enjoyable project, but it also elevates your home decor by adding a unique touch. With just a few materials and a little effort, you can create something that’s not only beautiful but also reflects your personal style.
So why wait? Gather your materials and unleash your inner designer. Explore more unique home decor ideas and tips that will transform your living space into a cozy haven. Happy crafting!
FAQ
1. What types of wood are best for corbels?
Pine, oak, and reclaimed wood are popular choices. Pine is affordable and easy to work with, while oak and reclaimed wood add unique character.
2. Can I customize the shape of my corbels?
Absolutely! You can create any shape you desire. Pinterest is a great resource for inspiration!
3. Is this project suitable for beginners?
Yes! This DIY is beginner-friendly, and with careful measurements and patience, you’ll create beautiful corbels in no time!
Start your DIY journey today and add those charming wood corbels to your home!