
Follow Me On Social Media!
DIY Floating Shelves for Small Spaces
DIY Floating Shelves for Small Spaces
Creating a cozy and aesthetically pleasing home is often about balancing function with style, especially in smaller spaces. One of the best ways to do this is through DIY floating shelves. With just a few materials and a little creativity, you can transform any drab wall into a vibrant focal point. Imagine showcasing your favorite books, plants, or handmade decor without sacrificing precious square footage! In this article, we’ll guide you through crafting your own floating shelves, ensuring it’s an enjoyable and rewarding project.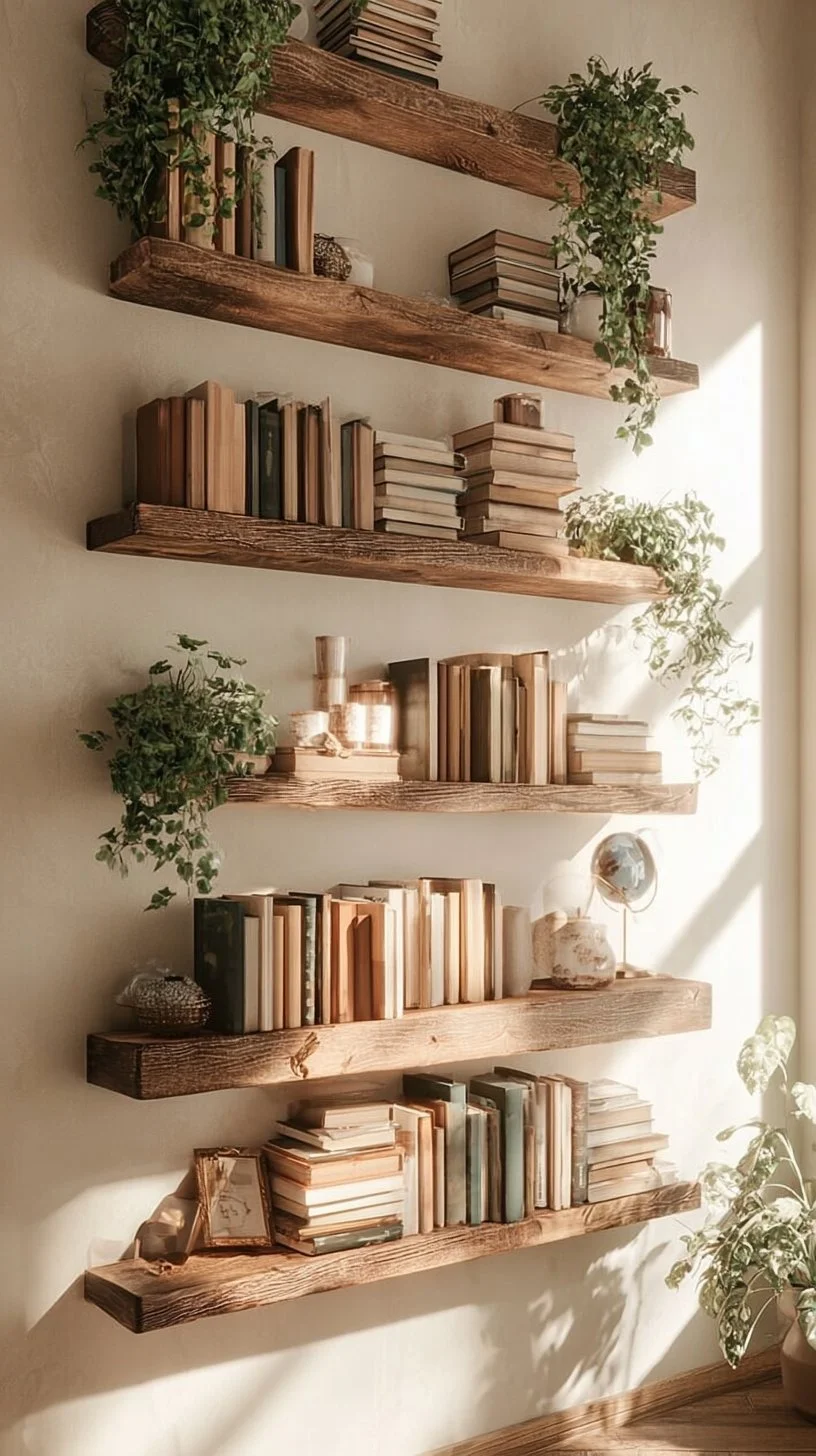
Why Floating Shelves?
Floating shelves are not only a trendy decor element, but they also serve multiple purposes:
- Maximizing Space: Use vertical space without overcrowding your floor.
- Easy Customization: Alter the size, color, and design to match your aesthetic.
- Versatility: Perfect for any room, from kitchens to living rooms.
In short, floating shelves let your creativity flow while providing practical storage solutions.
Materials Needed for Your Floating Shelves
Before we dive into the steps, let’s gather our supplies.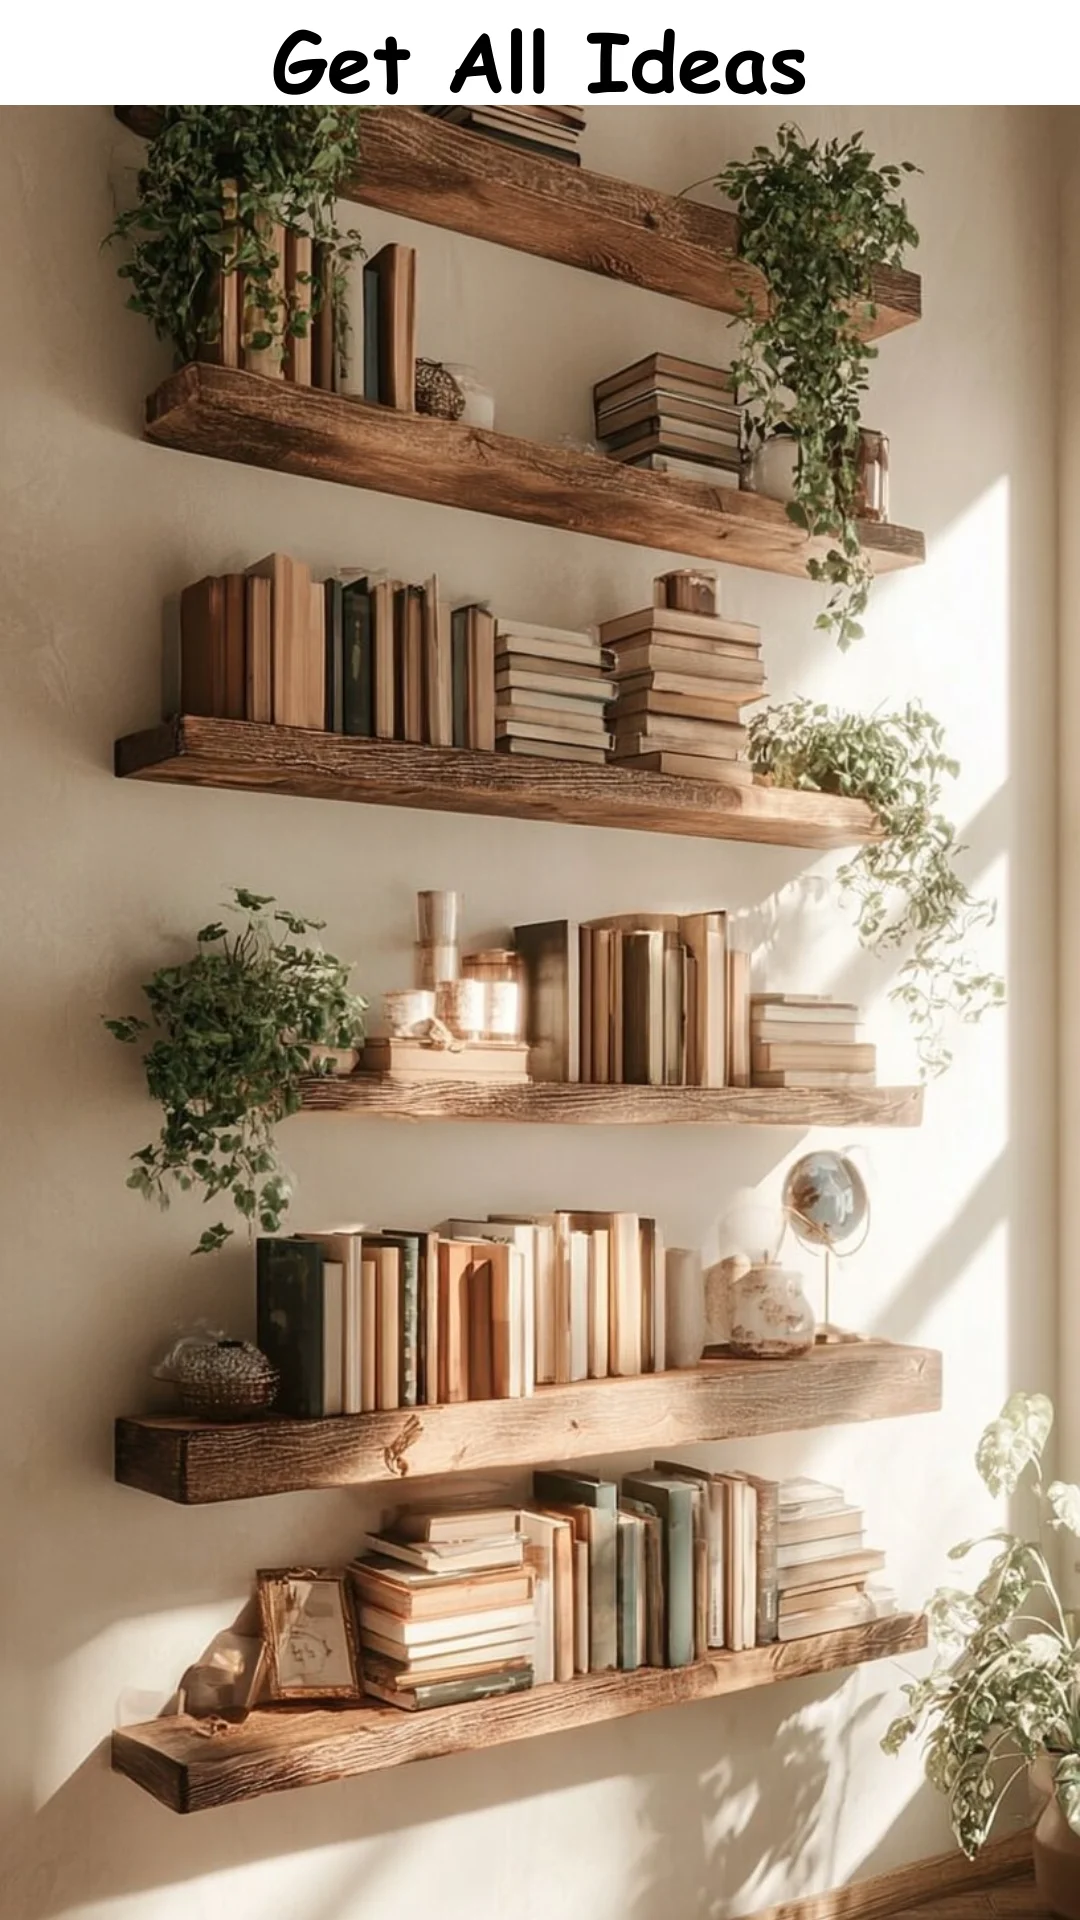
Ingredients:
- Wooden boards (2×4 or 1×6, depending on preference)
- Shelf brackets (invisible or L-shaped)
- Wood screws
- Level
- Drill
- Sandpaper
- Paint or wood stain (optional for custom style)
- Measuring tape
- Stud finder
Step-by-Step Guide to DIY Floating Shelves
1. Measure Your Space
Start by selecting the area where you want to install the floating shelves. Use a measuring tape to determine how long and deep you want the shelves to be. Mark the wall for accurate placement.
2. Choose Your Style
Decide on the thickness and finish of your wooden boards. For a modern aesthetic, a simple stained finish looks stunning, while white paint can brighten up your space.
3. Preparing the Wood
- Cut the Boards: If you’re buying full-length boards, use a miter saw to cut them to your desired length.
- Sand the Edges: Ensure the surface is smooth to the touch—this is vital for a polished look.
- Optional painting: Apply paint or wood stain according to your preference.
4. Install the Brackets
Using a stud finder, locate the studs in the wall where you’ll secure your brackets for optimal support.
- Mark holes for screws using your level to ensure straight installation.
- Drill pilot holes and then attach the brackets to the wall using the wood screws.
5. Mount the Shelves
- Once the brackets are installed, place the wooden shelves onto the brackets carefully.
- Secure any additional screws if needed, and check that the shelf is level.
6. Style Your Shelves
Now comes the fun part: styling your new floating shelves with decor!
- Layered Decor: Mix books, art pieces, and plants.
- Textures: Use woven baskets on lower shelves for contrast.
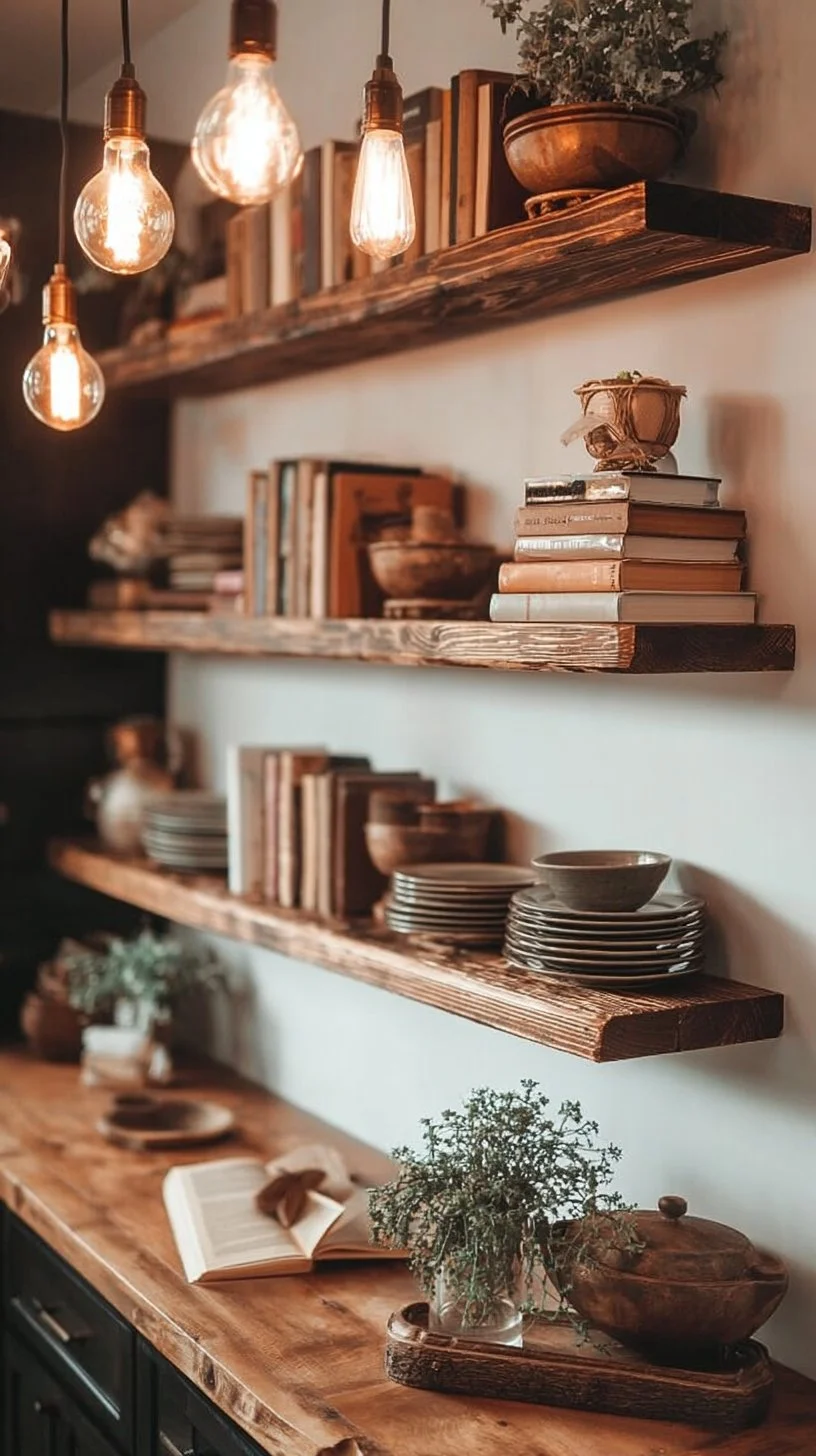
- Lighting: Adding LED strip lights can illuminate decorative pieces and enhance the cozy ambiance.
Real-Life Style Inspiration
To inspire your own design, let’s dive into some Pinterest-worthy ideas:
- A Minimalist Approach: Use all-white floating shelves adorned with small cacti and simple ceramic vases.
- Bohemian Dream: Style with a mix of woven baskets, macrame hangers, and vintage books for an eclectic vibe.
- Modern and Chic: Opt for dark wood shelves with designer coffee table books and sleek metallic decor.
Consider browsing online for floating shelf inspirations tailored to your unique style. Platforms like Pinterest are perfect for curating your ideas.
Practical Tips for Decorating Floating Shelves
- Balance Heavy and Light Items: Mix heavier books with lighter decor pieces to prevent shelves from looking cluttered.
- Vary Heights: Group decor items in different heights to create visual interest.
- Keep It Functional: Ensure that your favorite items are in easy reach while also showcasing beautiful pieces for decor.
Conclusion
And there you have it! DIY floating shelves are not just a practical addition to your home but a way to express your creativity and personal style. Whether you’re after minimalism or a boho vibe, the possibilities are endless. So gather your materials, tap into your inner DIY spirit, and create a delightful display that tells your unique story.
If you loved this article, don’t forget to explore more inspiring home decor ideas to elevate your living space!
FAQs
1. How much weight can floating shelves hold?
The weight capacity of floating shelves depends on the materials and how well they are secured to the wall. Typically, well-installed floating shelves can hold anywhere from 20 to 50 pounds.
2. Can I use floating shelves in the bathroom?
Absolutely! Floating shelves work wonderfully in bathrooms. They can hold towels, toiletries, or decorative items, making efficient use of vertical space.
3. What is the best way to secure floating shelves?
Use wall anchors for drywall installations and always secure to studs if possible. This ensures the shelves stay secure and can hold heavier items.
Now, go forth and create your own enchanting floating shelves, and enjoy the warmth they bring to your abode!